Lawrence M. Krauss
Director, Arizona State University Origins Project
Lawrence Maxwell Krauss is a Canadian-American theoretical physicist who is a professor of physics, and the author of several bestselling books, including The Physics of Star Trek and A Universe from Nothing. He is an advocate of scientific skepticism, science education, and the science of morality. Krauss is one of the few living physicists referred to by Scientific American as a "public intellectual", and he is the only physicist to have received awards from all three major U.S. physics societies: the American Physical Society, the American Association of Physics Teachers, and the American Institute of Physics.

Your brain stops at the most comforting thought. The truth is somewhere beyond that. Using scientific skepticism as a guide, astrophysicist Lawrence Krauss outlines the questions that critical thinkers ask themselves.
▸
6 min
—
with

Can democracy remain vibrant if the public, and especially children, don’t have the tools to distinguish sense from nonsense?
▸
6 min
—
with
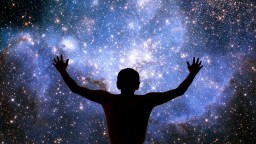
Life is a temporary, cosmic accident and the universe may very well be meaningless. That’s depressing — or is it?
▸
2 min
—
with

Will we ever have a Theory of Everything? Theoretical physicist Lawrence Krauss isn’t sure that’s the right question to be asking.
▸
4 min
—
with

For once, beer is going to clarify your understanding. Theoretical physicist Lawrence Krauss lays down the empirical evidence for the mechanics of the Big Bang.
▸
4 min
—
with

The question of antimatter is a specter haunting the field of physics: Why is there more matter in the universe than anti-matter? Lawrence Krauss gives a surprising answer.
▸
3 min
—
with

Theoretical physicist Lawrence Krauss explains his main gripe with organized religion: “It implies things about the real world that are just not true.”
▸
7 min
—
with

All new technology is frightening, says physicist Lawrence Krauss. But there are many more reasons to welcome machine consciousness than to fear it.
▸
3 min
—
with

“Education is far less about a set of facts than a way of thinking,” says professor and theoretical physicist Lawrence Krauss. “And therefore what I always think should be the basis of education is not answers, but questions.”
▸
3 min
—
with
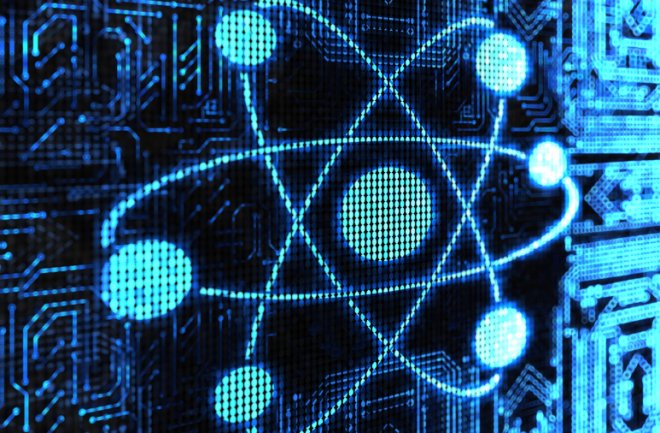
Lawrence Krauss describes quantum computing and the technical obstacles we need to overcome to realize this Holy Grail of processing.
▸
4 min
—
with
Theoretical Physicist Lawrence Krauss explains the different types of nothing. Or something.
▸
2 min
—
with

Here is what would make a quantum computer so powerful.

I find it fascinating that based on what we now know, we can’t yet say that it’s impossible to travel in time.

These virtual particles are really particles that simply are created from empty space, particle anti-particle pairs that exist for a time-scale so short that you can’t observe them by any measurement, but they’re there.
You want to make this macroscopic object, you want to keep it behaving quantum mechanically which means isolating it very carefully from, within itself, all the interactions and the outside world.

In cosmology we are at a similar place to where Darwin was in biology.
Throughout my career I’ve been surprised. Perhaps the most amazing surprise to me was actually one that I ultimately proposed but it defied everything I’d thought before. And that is […]
The last thing we want to do is water down the teaching of biology because some people don’t recognize that evolution happened.
▸
4 min
—
with
Lawrence Krauss argues for differential pay scales for teachers with advanced training in science and math to accommodate the free market.
▸
5 min
—
with

The physicist on the spiritual consolations of realizing we’re probably unique in the universe, and not part of some greater plan.
▸
2 min
—
with
The physicist argues that our common sense is based on evolutionary imperatives that have less to do with the universe as it is than with what our ancestors needed to […]
▸
2 min
—
with